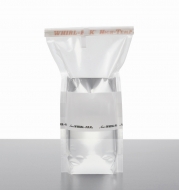
We no longer carry Whirl-Pak specimen bags, but this article remains relevant to the wide range of specimen begs we offer.
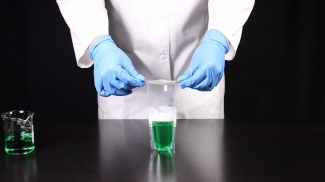
Wonder how Whirl-Pak bags got their name? Well, because by whirling your Whirl-Pak specimen bag, it creates a tight seal! Whirl-Pak specimen bags are very unique sample bags as they are durable and have many features to make your specimen handling process easy. It’s very simple to mix samples in our specimen bags. This post will break down the step-by-step process of whirling your whirl-pak bag.
There are many styles and sizes within the Whirl-Pak family. For the smaller to medium sized bags here are instructions on how to use them:
- Label the bag with any necessary sample information. (You can use virtually any writing instrument – ballpoint pen, pencil, felt-tip marker)
- Tear off the top of the bag along perforation.
- Use the pull tabs on each side of the bag to open. (Sometimes a little pull on the bottom of the bag can help when opening)
- Put the sample, either liquid or solid, into the bag. (Leave space at the top for closing and mixing if necessary)
- Pull the ends of the wire to close the bag. Hold the bag by the wire ends, whirl the bag 3 complete revolutions to form a leak-proof seal. (whirling the bag will create the tightest seal)
- Bend the wire ends over onto the bag to complete the closing.
If you have any questions or comments, please let us know in the comment box below!


Leave a Reply