- If you’re using an adjustable pipette, you must select the volume amount that needs to be transferred. You can do this by rotating the volume selector wheel to the correct volume. (Tip: Always go higher then the desired volume, then slowly turn the wheel down to the needed volume.)
- Then you will need to choose the correct pipette tip. When attaching, you must firmly press the shaft of the pipette into the wider opening of the tip for a good seal. (Tip: Do not force the shaft into the tip, it could potentially cause damage over time.)
- Place either your index finger or thumb over the top of plunger and press to the first stopping point. Hold the plunger in this position.
- Place your pipette tip into your sample and let up on the plunger to allow the sample to rise into the tip. Also, make sure your pipette is vertical or within a 20 degree angle. (Tip: Do not remove your thumb from the plunger or let the plunger rise up fast because your sample volume might dispense incorrectly.)
- You will want to make sure you don’t have any bubbles in the pipette tip after the aspiration of the sample fluid is complete.
- Remove the pipette tip from the sample and wipe off excess fluid from outside of tip. (Tip: Be careful not to touch the bottom of the tip)
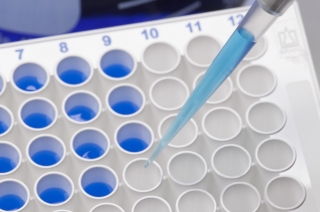
- To dispense the liquid sample into a receiving tube, press the plunger down slowly and steadily pass the first stop all the way to the bottom. Wait approximately 2 seconds to allow complete dispensing of sample into receiving unit.
- Then remove the tip from the wall of the receiving unit and release the plunger.
- Then simply dispose the pipette tip by pressing the ejector button to remove the tip and dispose in the appropriate bio-hazard container depending on your facility’s guidelines.
As always, following your facility’s guidelines and laboratory rules is highly recommended. If you have any questions regarding this post, please let us know in the comment box below!

Leave a Reply